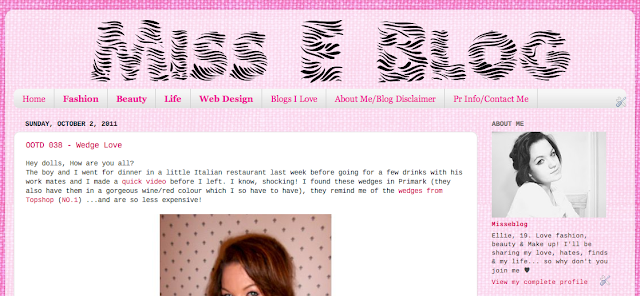
What’s great about it is that you don’t even have to be proficient in CSS coding whatsoever. Plus, it only involves copy/pasting a very short set of CSS code. So how do you do it?
First you need to upload just the right size of image. Make sure that it’s big enough because you wouldn’t want your photo to be pixelated once you enlarge it, and of course make sure that it’s not too big either. Once you’ve upload your photo, just follow the steps below:
- If you already have your Profile or About Me page set up, you can just skip and proceed to Step 4.
- In your dashboard > Design > Layout.
- Click on Add a Gadget > Profile and fill up all the necessary information about yourself.
- Save the widget.
- In the Design page, go to Template > Customize > Advanced > Add CSS.
- Copy/paste this code (if you have any existing CSS code in there, just paste this at the bottom).
.profile-img{NOTE: Feel free to change 200 to adjust the size of your photo according to your preference.
height: auto;
width: 200px;
}
- Press Enter and click Apply to Blog.
- Your profile pic should now be displayed according to the size you want.

0 comments:
Post a Comment